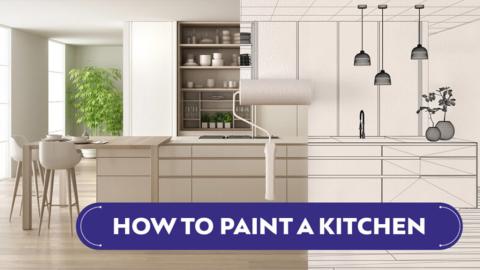
Unlike painting bedrooms, hallways, and living rooms, painting a kitchen does not require a lot of wall space. Base cabinets, wall cabinets, sinks, appliances, and backsplashes take up a significant amount of room. A kitchen has fewer paintable surfaces. If a complete kitchen redesign seems intimidating and pricey, think about the straightforward steps below:
- Plan and prepare
Before you start painting, make sure you have all the necessary supplies, including paint, primer, brushes, rollers, tape, drop cloths, and sandpaper. Also, remove all the items from the kitchen, cover the floors and countertops with drop cloths, and clean the walls thoroughly.
2. Clean the walls
Because they are frequently oily, clean the kitchen wall surfaces thoroughly. To clean the surfaces before painting, use sugar soap or a strong detergent solution. Before letting the surface dry, thoroughly rinse it with warm water to remove all of the residues.
3. Set up the space
Before painting, masking tapes the edges of any tiles, appliances, trim, and worktops to create a smooth, clean edge to the painted surface. To collect any drips, it is best to also cover the floor, work surfaces, and appliances with plastic wrap.
4. Use the right paint
For a kitchen, it’s important to use paint that can withstand moisture, heat, and frequent cleaning. Look for a paint that is labeled “kitchen and bath” or “scrubbable.”
5. Begin with the top
Paint your kitchen from the roof down. This will prevent paint drips from landing on freshly painted surfaces. For ceilings and walls, use kitchen paint because it is durable and made to be readily cleaned. Instead of using a roller, paint the edges and smaller surface areas with a brush.
6. Paint cabinet doors
Clean cabinet doors with sugar soap or detergent, then fill any gouges or nicks in the doors with wood filler before sanding the areas and wiping them down. Use a special primer, and an undercoat to improve coverage. When painting around cabinets, appliances, and trim, use a small brush to ensure a clean, precise edge. Take your time and be patient, as rushing can lead to mistakes and a less professional-looking finish.
7. Paint woodwork
Start from top to bottom. Start with the windows. Then paint the door, door frame, and architrave, followed by the skirting. Paint the skirting last to avoid contaminating your brush with dirt or dust.
8. Paint by brush
Let the paint dry for about two hours. Dip the paintbrush in the paint and manually paint the areas that the roller could not reach. Avoid drips by minimally applying the paint with a brush. Areas that have been painted in the last few minutes are likely to be filmed over. So, confine your re-brushing to areas that were only recently painted.
9. Apply Additional Coats
When two or three coats of paint are applied, the colors deepen and reach their full potential. At a minimum, let the paint dry for at least a couple of hours, then re-roll and re-brush the paint one more time.
10. Finish up
Once the paint is dry, remove the tape carefully and touch up any areas that need it. Clean up your supplies and allow the paint to cure for a few days before moving furniture back into the room.